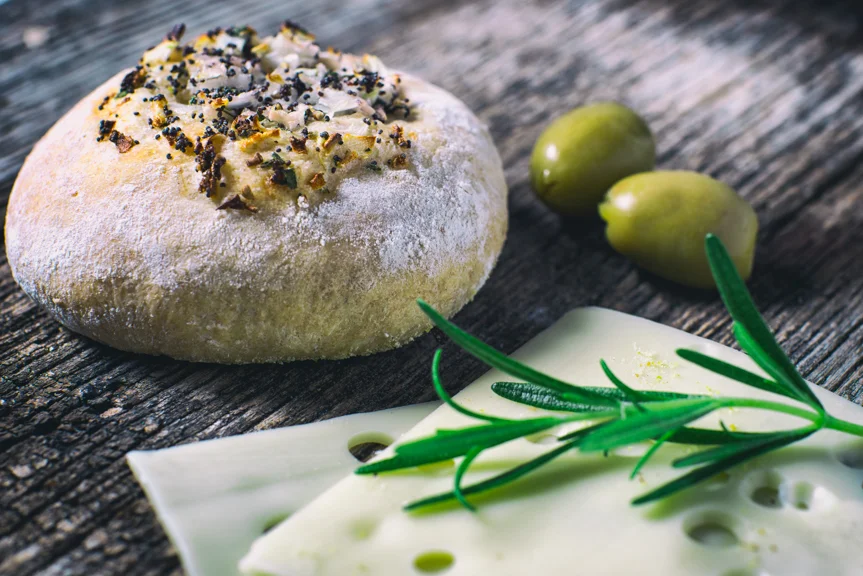
Bagels distant cousin, the Bialy- an onion and herb topped rustic bread.
Read MoreBialy...Bagel's Cousin
in baked goods
Bagels distant cousin, the Bialy- an onion and herb topped rustic bread.
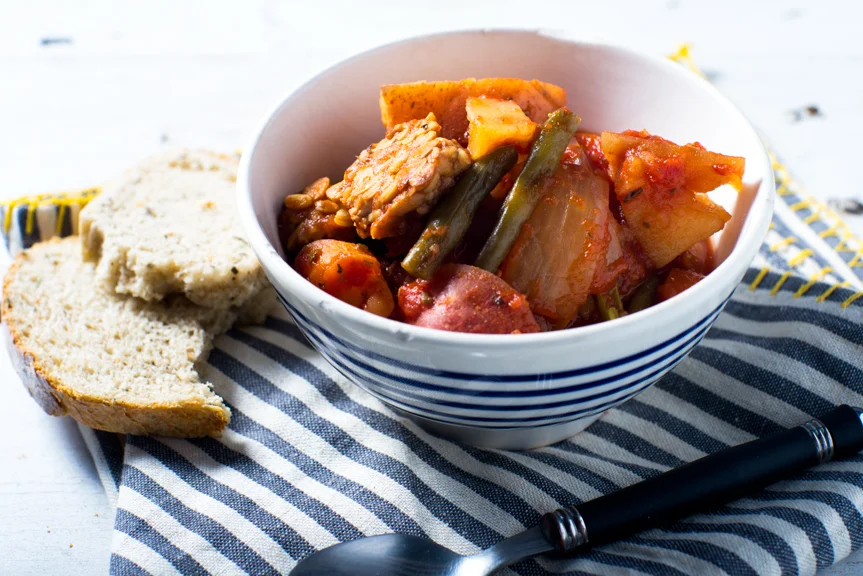
Read MoreThis hearty French stew cooks all day in a crock pot for a great evening meal with minimal effort.
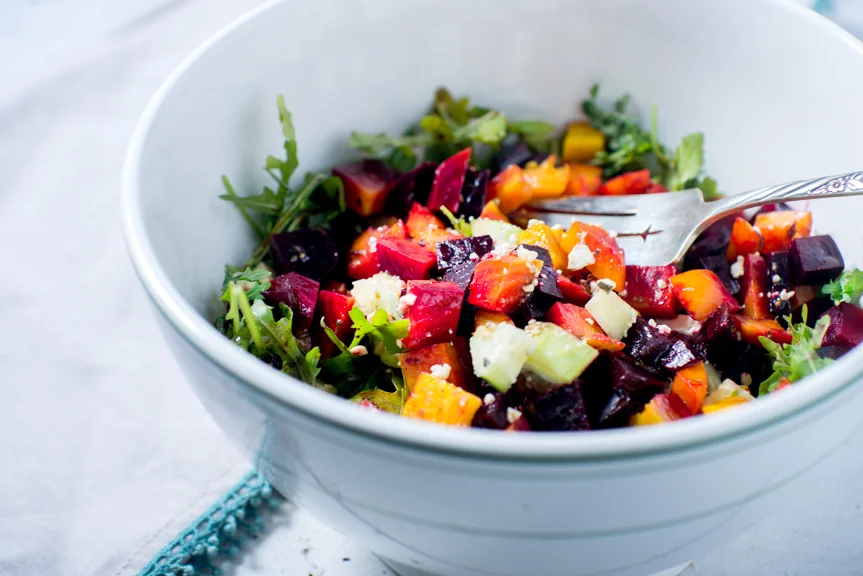
Read MoreA delicious light beet salad.
Read More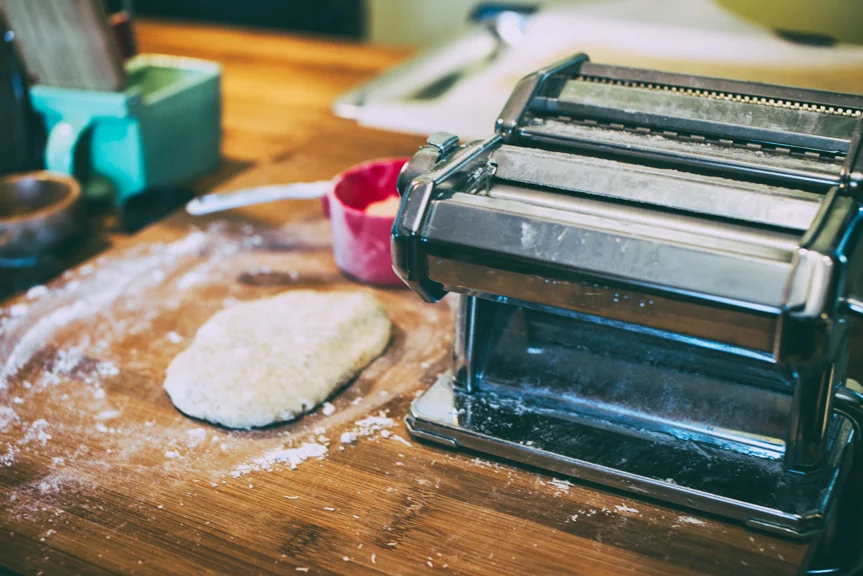
I was pleasantly surprised with an Artisan Pasta making book from my partner. Granted he benefits equally with these kinds of gifts knowing what will soon be placed on the dinner table. I certainly go through my pasta making kicks but always enjoy the satisfaction of it. I also tend to make at least three meals, one for that night and freezing the other two for those less ambitious days.

You want to start with a basic egg pasta recipe which you can find here from the Make It Veg blog. We've been through this before after all. You will want to roll out thin sheets, 2 for each set of 12 raviolis and use a ravioli tray to make life easier.
2 Cups Whole milk Ricotta
1/4 Cup Grated Parmesan cheese
4 TBSP chopped rosemary
1 TBSP dried Thyme, and Sage
1 TSP black pepper
1 tsp. salt
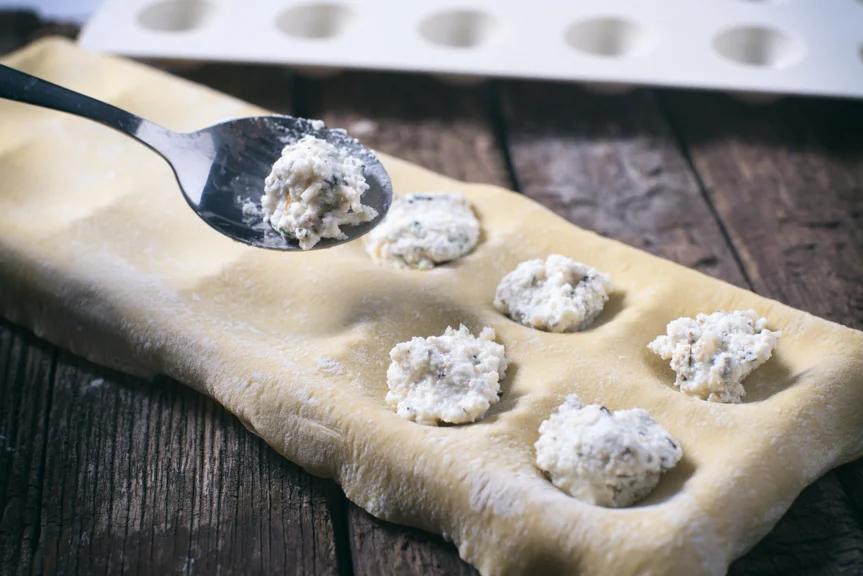
Mix the filling together and refrigerate while making the pasta.
Using a ravioli form, create your base layer with wells in the pasta. Fill each pasta with enough filling to fill the well yet keeping the sides clear. Brush with water and apply the top layer. Using a rolling pin seal the layers and carefully remove from the form. Let dry on parchment lined baking sheets.
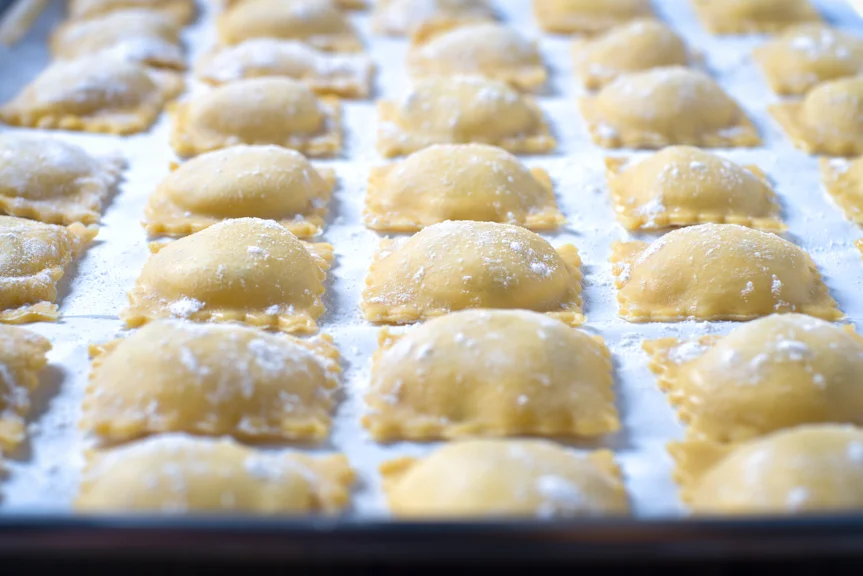
Freeze the pasta on the baking sheet, not letting them touch each other. This will prevent them from freezing in one large clump. Only after the individual pieces are frozen should you freeze them together in a sealed bag.
This delicate pasta has fresh parsley leaves pressed inside the middle. These go great with a light broth garnished with sage butter.
Read MoreThese burger buns are so easy that they can be made during the week! Or make a batch on the weekend for weekday lunches.
Read MoreArrabiata sauce makes this a delicious and spicy Italian dish.
Read MoreA nice hearty bean stew that's perfect on a cold day.
Read MoreSometimes you just need to eat cheesy goodness. That doesn't however always mean bad for you. This is a quick side that takes minimal effort yet yields great homemade taste. It can really apply to multiple vegetables but the combination of butternut squash is not only tasty but colorful.
I served this as a standalone meal and was pleasantly complimented at how good this was. It makes a great standalone entree but also a fantastic side for many meals.

1 head of cauliflower cut into large pieces
1 Butternut squash cut into large pieces
1 Cup Bread crumbs
3 TBSP Butter
3 TBSP Flour
2 Cups milk
Salt and Pepper to taste
1 Cup grated or shredded Parmesan cheese.
Preheat oven to 400. Place the cauliflower and squash into a baking pan, and add about 1/2 cup water. Cover with foil and bake 20 minutes so that the veggies steam. As an alternative you can steam them on the stove top.
In a large saucepan melt the butter over medium heat. Add the flour and continue to cook for 2 minutes stirring frequently. Add the milk and continue to stir for 5 minutes or until sauce is thickened and bubbly. Remove from heat and add cheese, mix until well incorporated.
Remove the foil from the veggies and cook for 5 minutes longer in the oven until MOST of the water is evaporated.
Remove veggies from oven and pour sauce over them. Mix well. Cover with breadcrumbs and return to oven. Bake another 10 minutes or until bread crumbs are golden brown and sauce is bubbling.
Garnish with additional Parmesan cheese and season with salt and pepper.

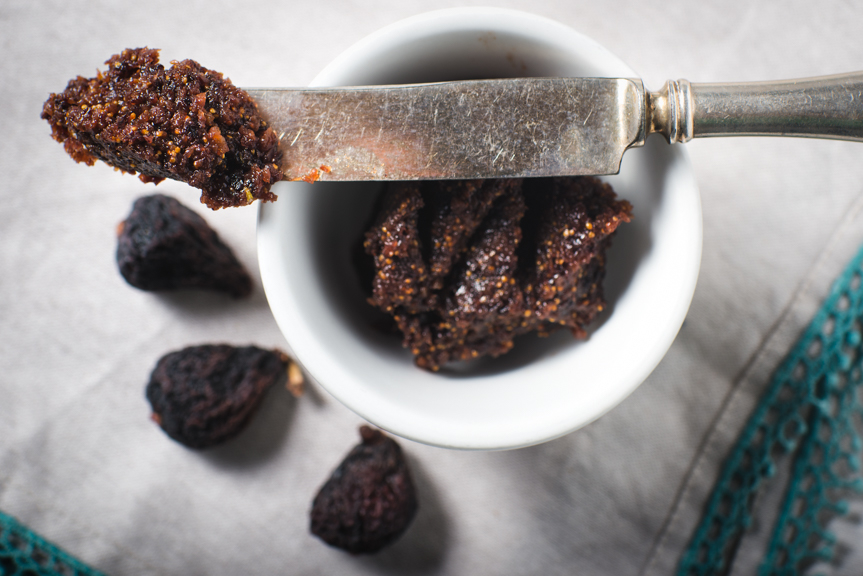
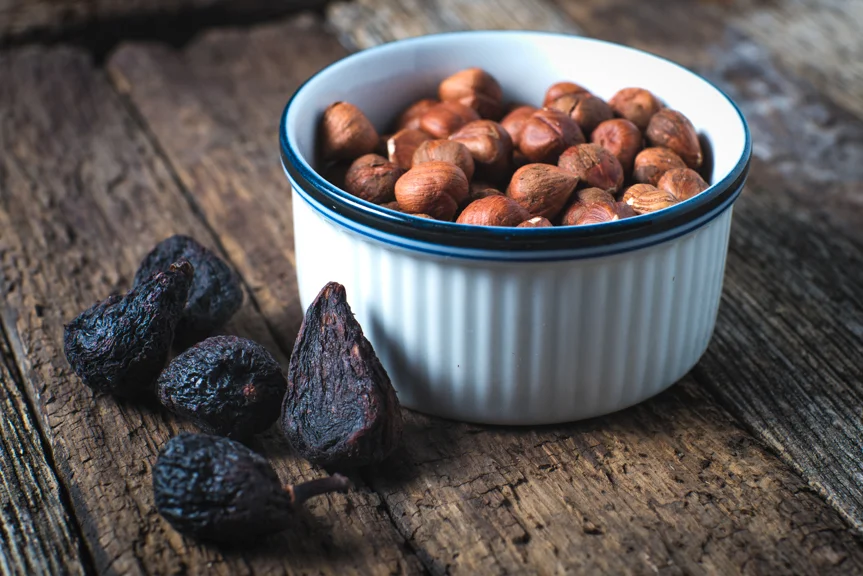
I picked up a couple pounds of dried black mission figs the other day and had some extra that I wanted to use up. I stumbled upon this super easy recipe for a fig spread that has my mind racing on possible uses. For now I have used it as a spread on breads and crackers but thinking homemade fig newtons or fig filled shortbread cookies.
It's definitely easy to get a little sad in the Winter about not having a lot of fresh fruits but it's also a good time to use dried fruits and be a little creative. This recipe can easily be used for other types of fruits. One thing I really like about it is the fact that it really doesn't use much sugar since the dried fruits already have a high concentrate of their own sugars, which are even heightened by the drying process.
1.5 Cups Water
1 Cup quartered dried figs
2 TBSP sugar
2 TBSP Whiskey or Cognac
1 TBSP Lemon Juice.
Combine all of the ingredients except Cognac and Lemon Juice into a small saucepan. Stir while bringing the mixture to a boil. Reduce heat to a simmer, cover and cook for about 20 minutes or until the figs are soft.
Transfer to a food processor and add the lemon juice and cognac. Pulse until smooth and thick. You can add some water to play with the consistency if you prefer a thinner spread.
Cool and refrigerate until use.
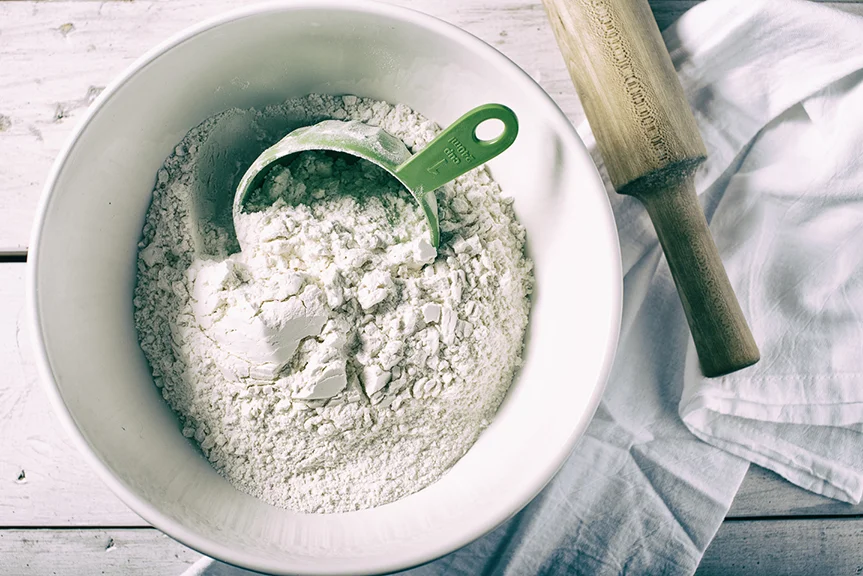
There definitely is an art to bread making and on a personal level I have only scratched the surface. This is an art that I am excited to learn more about as I go along, and to develop my own methods and flavors.
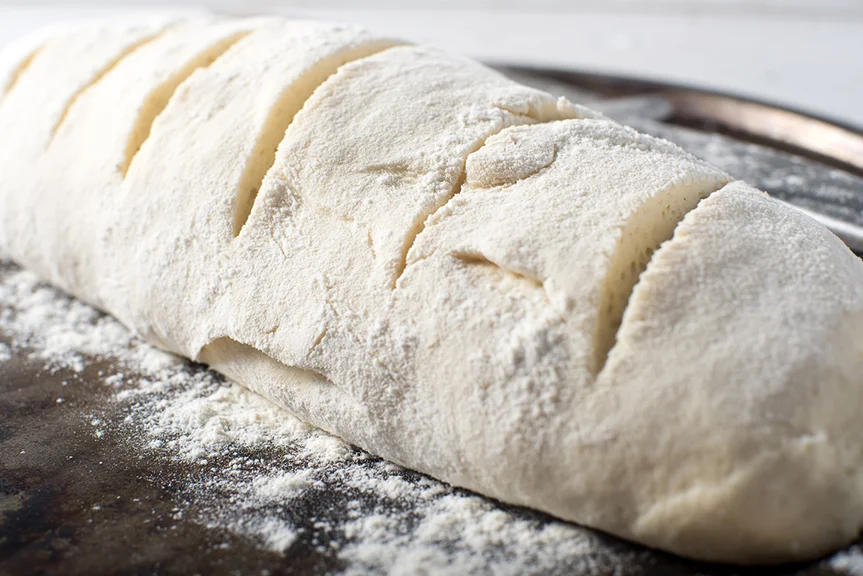
I'm not going to post an entire blog about bread making because there are already too many resources for good bread making. Just search the internet and you will have more than enough information to get started. I have begun to do a lot of experimenting lately with breads, both in method and in ingredients. I've been a fan of quick breads that require no kneading at all but lately have dove head first into a much longer method that has been extremely satisfying. I always try and make these by hand the 'old fashioned' way which can be hard in today's World where you need to make everything fast. What I have discovered is those breads that you knead for 20 minutes and let rise multiple times for several long hours have a unique taste that no quick bread can replicate, certainly not in a bread maker.
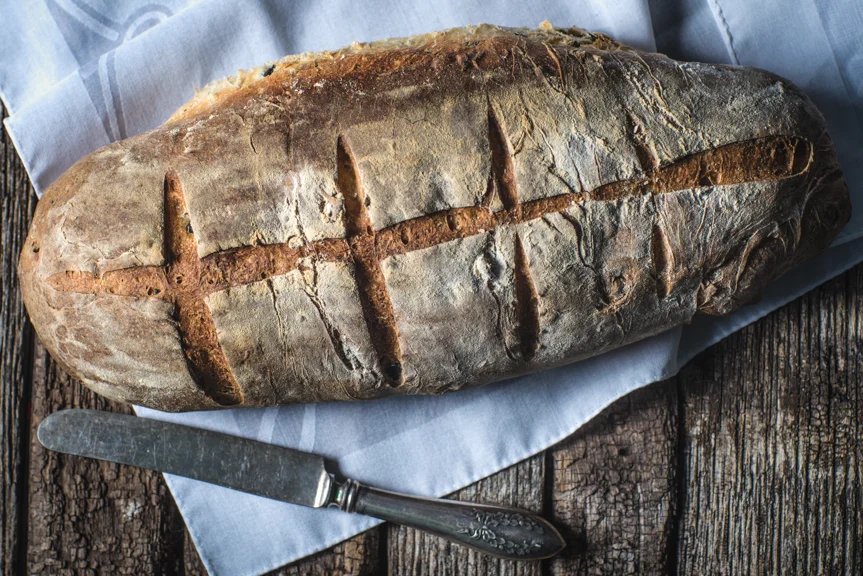
Rosemary and Black Olive Bread
A Lot of the breads I have been making use a Pooish. Similar to a sour dough a Poolish is a fermented starter that adds a great deal of flavor to your bread but aged in much less time than a traditional sour dough. The breakdown of the process is making a Poolish which ferments for 2-10 hours, followed by a Final Dough that rests and rises for 2-3 hours, and final shape which again rises 2-3 hours before baking. While electric mixers certainly take a lot of the labor out of kneading I've also found that it's imperative to knead by hand a little to get a feel for the gluten and to know when the dough is done. 20 Minutes of kneading seems to be the sweet spot to activate all of the gluten fibers in the dough before a proper rest. It's funny , kneading bread can easily transform you into a level of meditation. I may be wrong but I'm betting a lot of Life's problems can be resolved in the 20 minutes it takes to hand knead some dough.
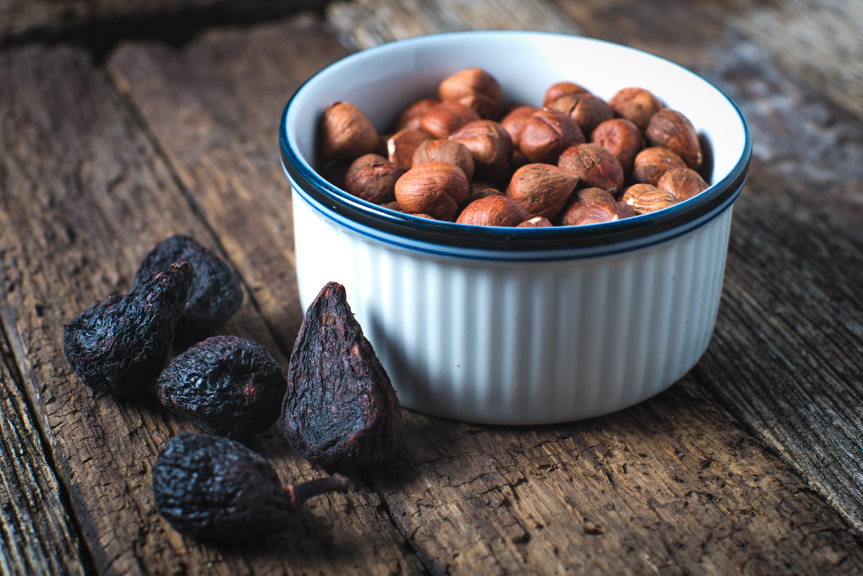
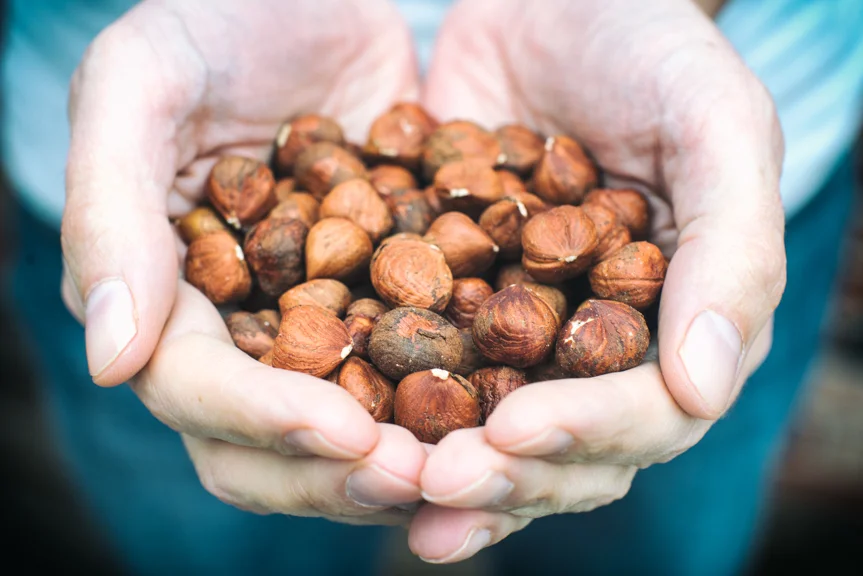
It's been during this kneading process that I've really enjoyed experimenting with different ingredients. Incorporating dried fruits, nuts and herbs really brings the character to your bread. Some of my favorites so far have been:
In addition to the endless amounts of things you can add into your bread, trying different types of flour can certainly keep you busy for a very long time. My general go to right now is a 20 mix of regular white flour with 20% whole wheat that I grind from whole wheat berries. This is a great mix for adding nutrients yet fairly 'safe' for many recipes.
One thing is for sure experimenting with various ingredients makes a bread personal and unique and love the creative process of trying to figure out what goes well and what doesn't quite work. Once you develop a technique that works for you and your cooking environment, start to try new things and you may be surprised with what you come up with.

Black Pepper with Rosemary and Sage.
I'd love to hear what ingredients are YOUR favorites in bread!
Both sweet and Tart, these muffins will give you a little taste of summer, even during the cold months.
Read More